| The building of our waterfall | back |
|
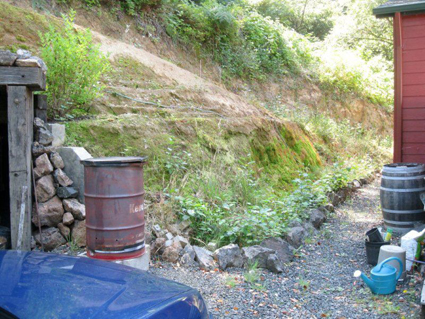
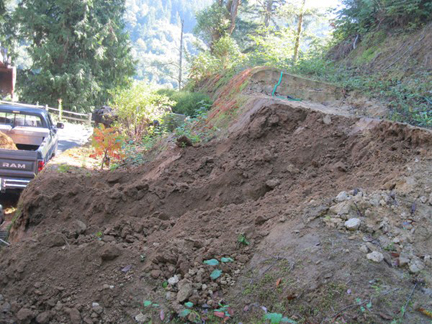
This is the back of our home that faces a wall of dirt. We plan on making it look like a lush hillside with a beautiful waterfall coming down through the greenery. |
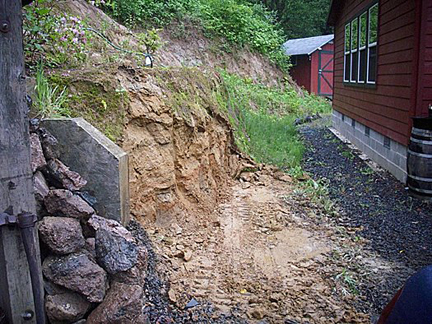 |
First I want to say, this is our first project like this ever. It may or may not be the correct way. Our first step was to move all the rocks out of the way that we had lined the walkway with. The remove some dirt. |
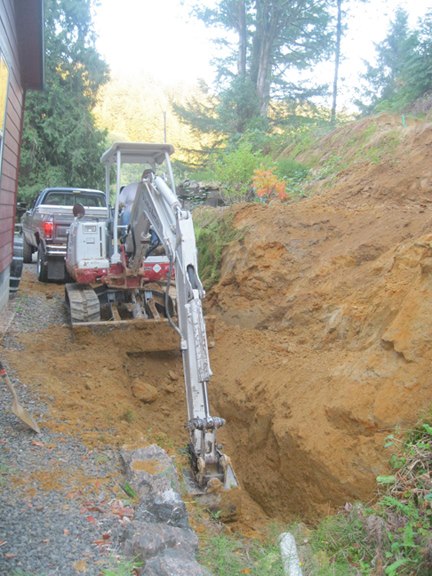 |
We rented a mini excavator to dig the area for the waterfall and the hole for the water storage tank. There was about 5 inches of space to not hit the house while turning. And you do not want to hit the wrong lever to swing the wrong way. |
 |
My goal was to get as much digging done with the machine as possible. The less hand work the better. |
 |
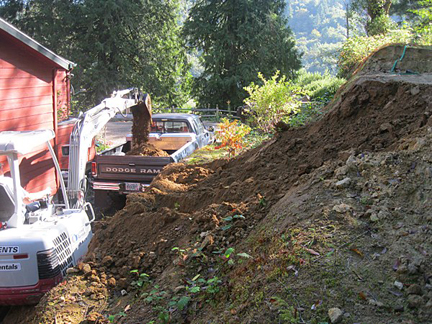
The dirt went into the back of the pickup. We then took it to a different part of our property. We had to unload it by hand. There was around 16 loads. It was a very hard day! |
 |
A bunch of hand work was still needed. Wheel barrow after wheel barrow full. |
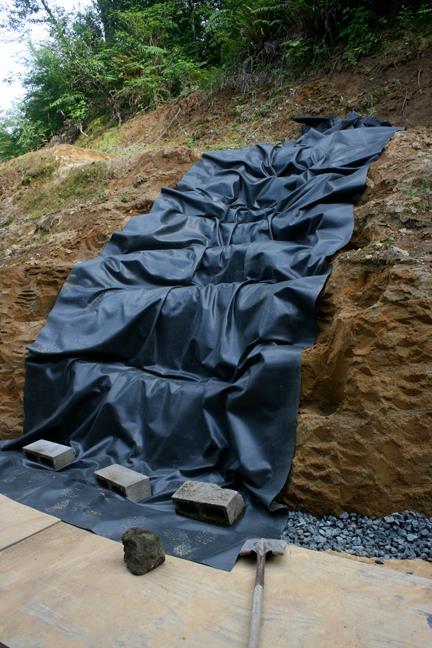 |
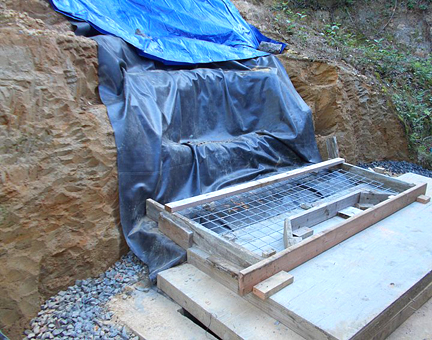
Finally ready to start. This step was to lay down the rubber barrier. This is so if the concrete and rocks leaked, it would not wash down the dirt. |
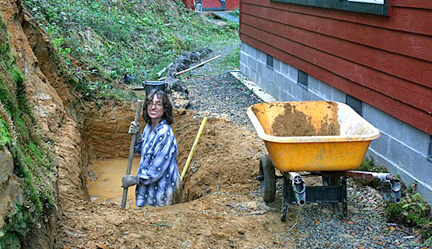 |
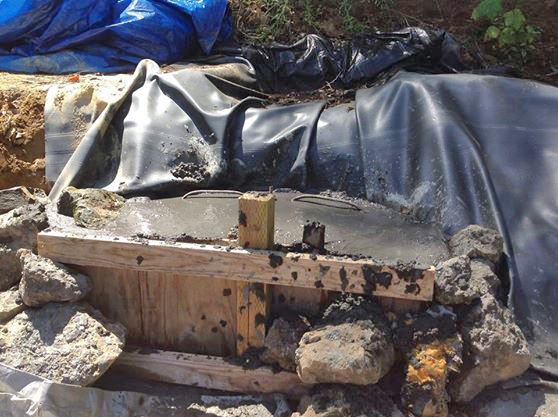
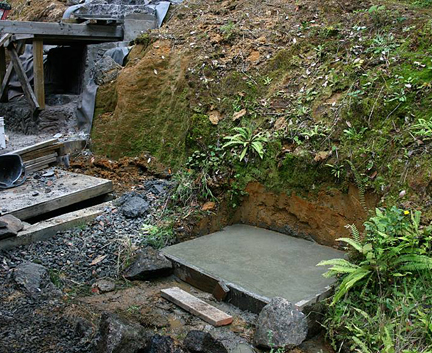
Before we get too far along, this is a photo the water holding tank hole. This will be for the water storage that the pump will pump from. And then the waterfall will refill from.
Here Elaine is squaring it up and taking the "extra" dirt out so we can pour concrete. |
 |
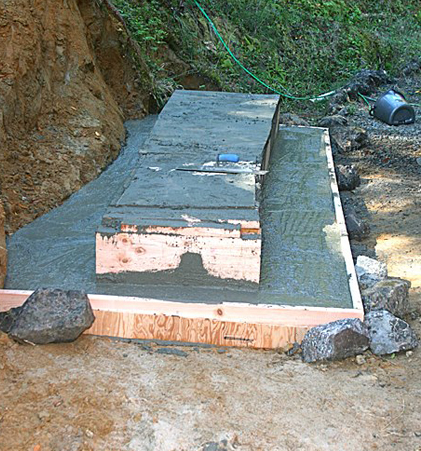
We then needed to pour a base of concrete. We made it about 5 inches deep. |
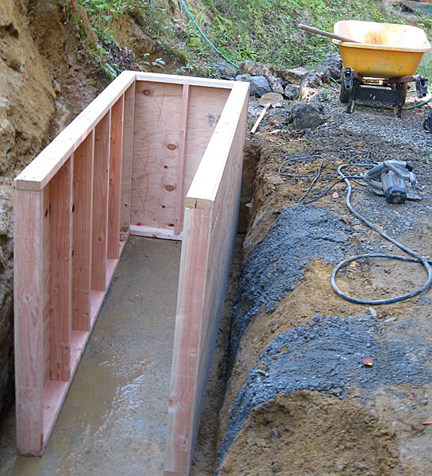 |
I made a form in the center, while the dirt would act as a form on the outside. |
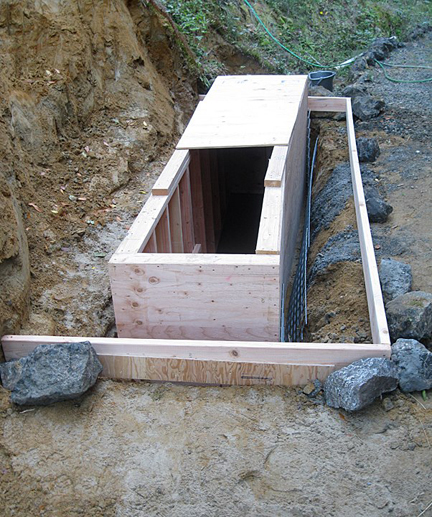 |
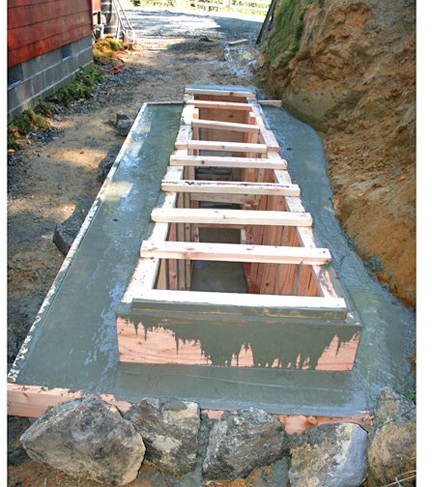
Form is ready. I put a top on it so the concrete can be poured on top, flowing over the sides into the space that will be the walls of the tank. |
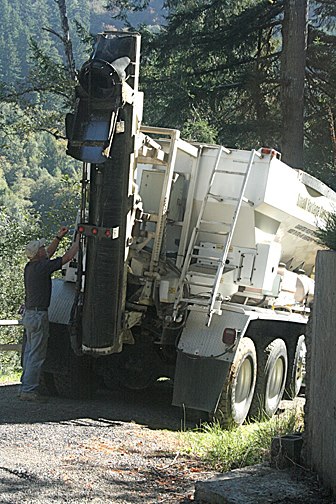 |
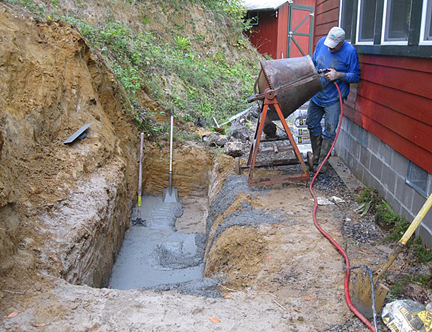
For this job I used a concrete truck, no hand pouring on this one. I was not sure how much the job would use, so hired a truck that mixes in the hopper. That way I could use what I needed and then just stop. |
 |
All poured! |
 |
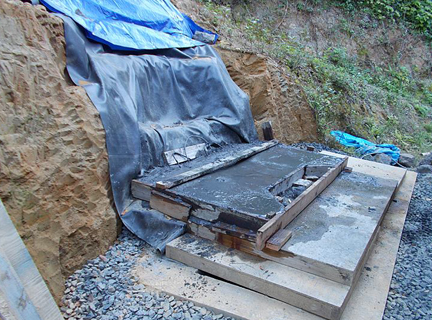
Taking the forms off. |
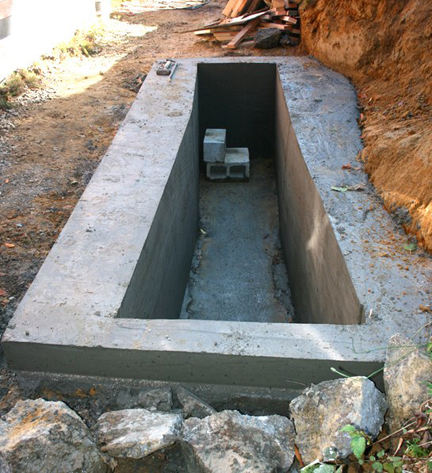 |
A little strange shape, but so what. Once the project is done you wont see it.It is 4 foot deep, average 3 ft wide and 14 foot long. |
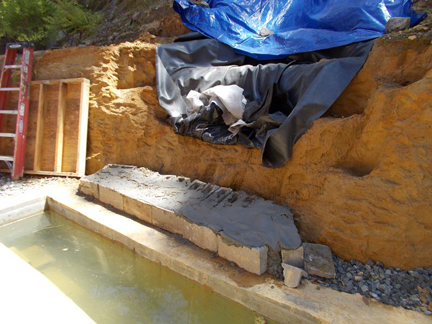 |
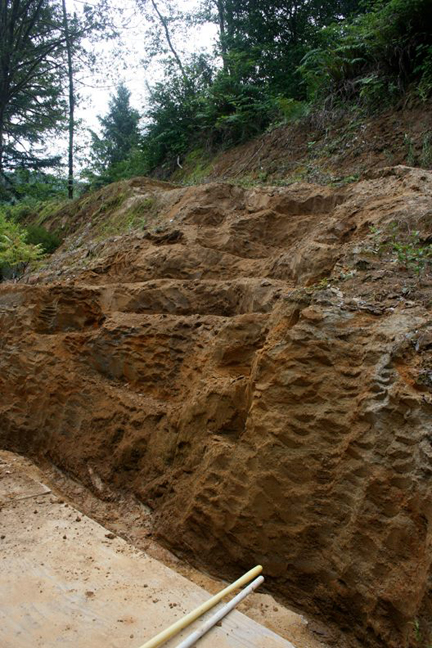
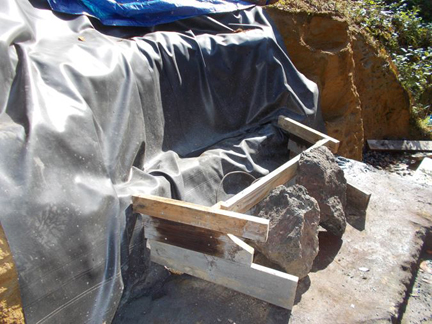
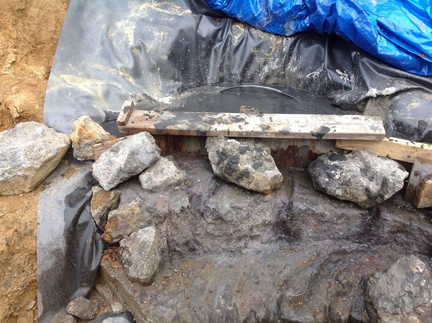
The beginning of the waterfall steps. I wanted the first step to be higher than the tank level. So this shows the base of the next that step. |
 |
Made the form for the first "step" of the waterfall. Never having done this before, I think this first step looks wrong. |
 |
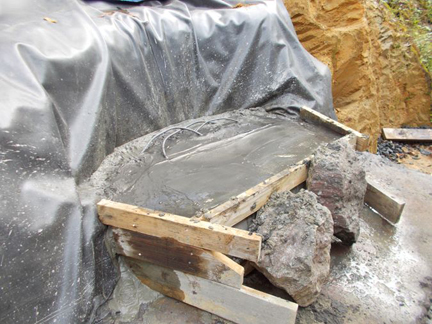
We mixed the concrete by hand in the wheel barrow on the first step and every step all the way up the waterfall. It was just too hard to get the mixer where it could pour out to where we needed it. |
 |
While mixing we added black coloring to the concrete mix so it would not be just gray when it was done. I always added rebar to the back so the next step would always be rigged with the step below it. |
 |
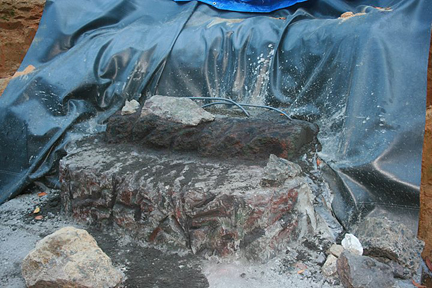
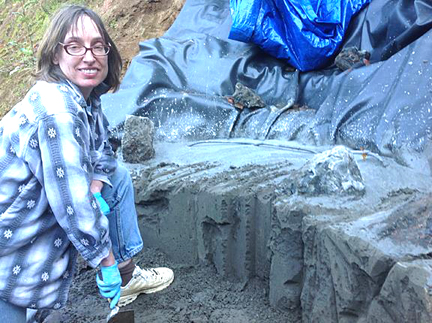
The while real green (uncured) we took the form off and sculptured, trying to make it look like rock. Also adding other coloring. |
 |
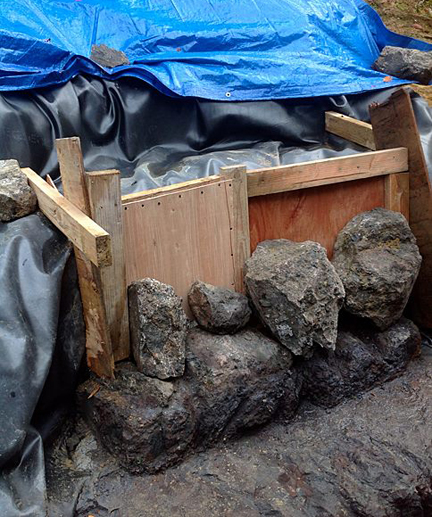
Each form on each step was different. Kind of free-form. Thought this would make it more random and natural. Used large rocks to hold the form in place. |
 |
Again, step by step we would hand mix, pour and then take the form off while green enough so we could sculpt and color. |
 |
On some we would add real rocks into the concrete. You can see one stick up on the left of this pour. |
 |
Crazy forms! |
 |
Step by step, we add something different each time. |
 |
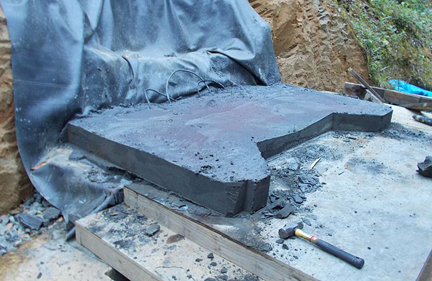
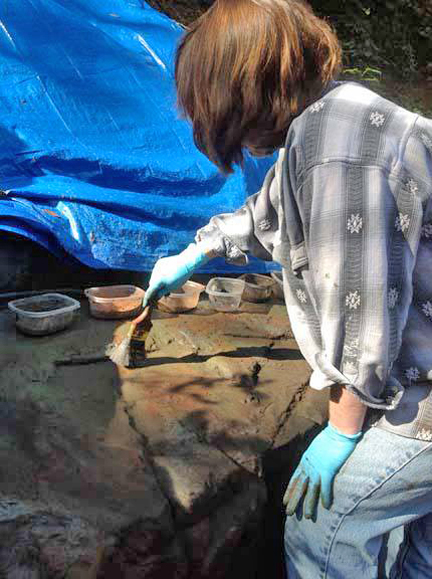
These next few photos show a better view of how we did it. This is after the form is removed while the concrete is still real green. |
 |
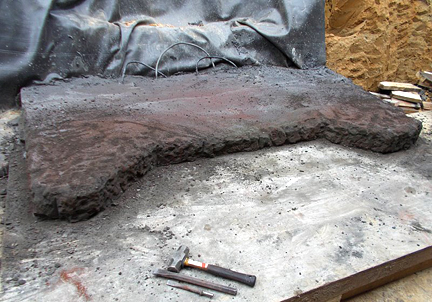
Then we carve to make the firm concrete in some kind of rock shape. |
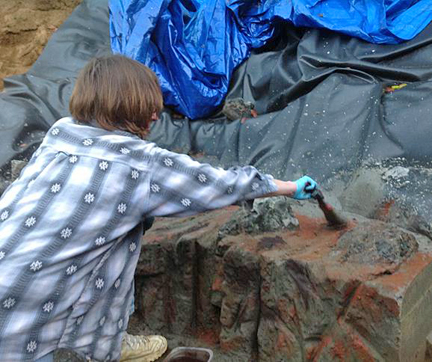 |
We use paint brushes to work the coloring into the surface, using black, red, green and browns. |
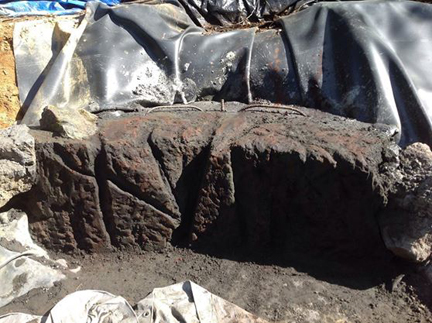 |
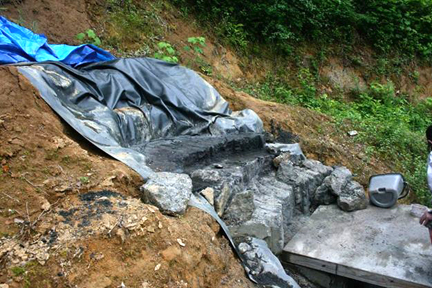
We think it turns out fine. Hope it looks right with water flowing down over it. |
 |
Had to build a platform to work from. We put the wheel barrow up on it to mix up the concrete. Then shoveled the concrete into the form. |
 |
This is the second of the last step. |
 |
The color master!!! |
 |
Another step. |
 |
More coloring. |
 |
|
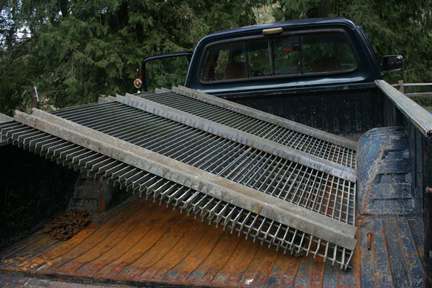 |
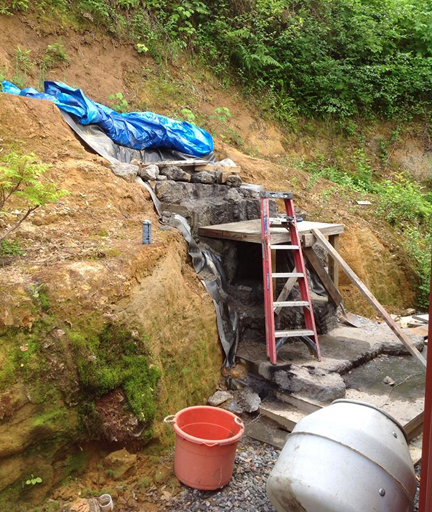
While at the scrap yard I found these two galvanized grates.They are the perfect size to go over the waterfall tank. |
 |
Started the building that will hold the pump. This is the base. You can see the waterfall on the left. The plan is to make this pump house to look like an old miners shack, to match the gold mine. |
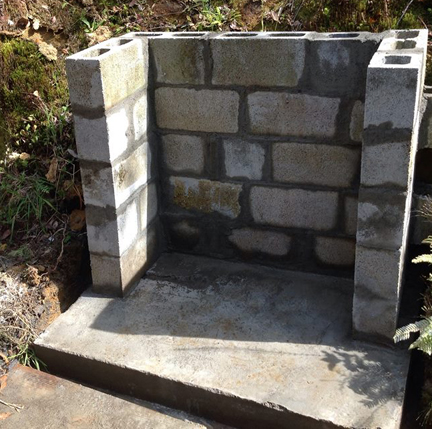 |
The back of the pump house is also a retaining wall so I used concrete block. The front will be wood.
More to follow as we do more..... |