| The building of the Gold Mine! Well, a fake one anyway. | back |
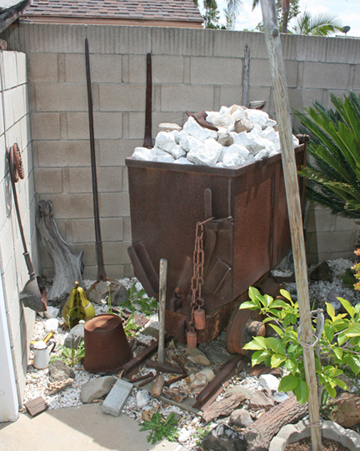
This is an original California gold mine car. This photo is of it on display in southern California at my Dad's home. So I am going to take it home and make a "Gold Mine" display. |
|
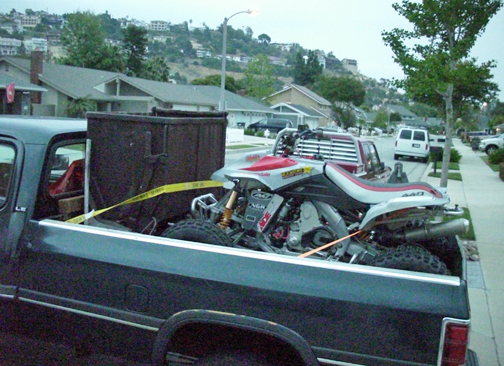 |
We emptied it and then rolled it up ramps to get it into the truck. Hauled it home to Oregon, along with a quad that a friend of mine brought home from southern CA. (Its a Cannondale) |
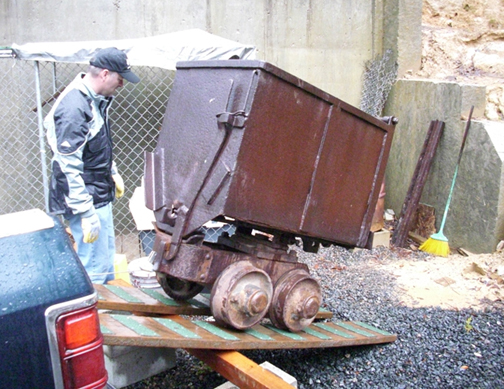 |
We rolled it off the truck. It is just a little heavy, well real heavy! |
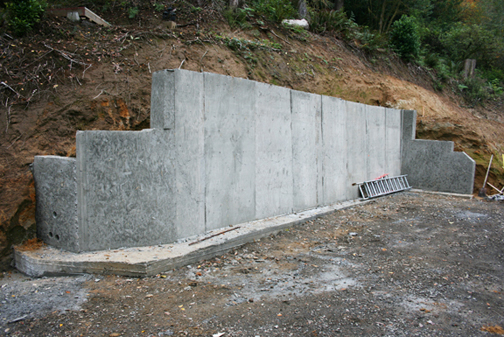 |
My goal was to make a fake gold mine, a display in the far corner of our retaining wall I had built. Back where that ladder is. |
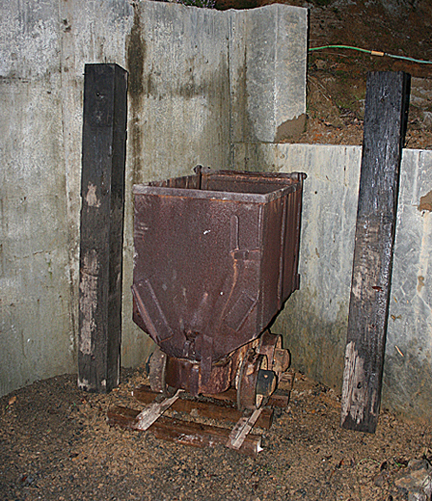 |
My Dad had given me the steel rails, this shows the mining car in place where the display will be. |
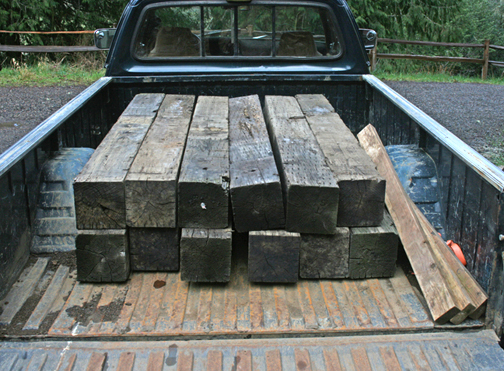 |
I bought used gaurd rail ties. It took 17 total of the ties to complete the display. |
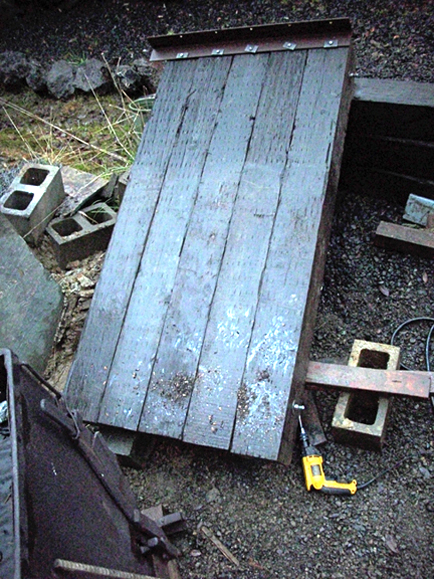 |
Drilled holes through all the ties toward the top and on the lower part. Then used galvenized all-thread to bolt them together. This will make one of the mine walls. |
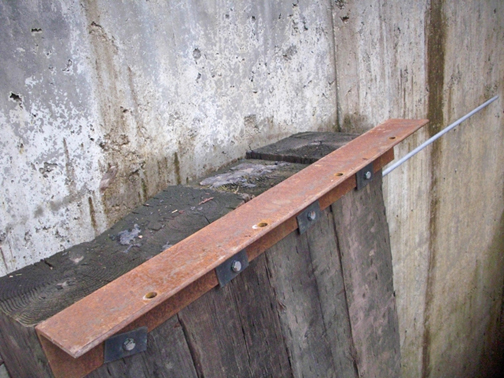 |
This is a photo of the steel I used. I used lag bolts to connect it to the ties. It will be used to tie the walls to the roof beams. I made the square washers on my iron worker. I thought this would make the display look less "store bought". |
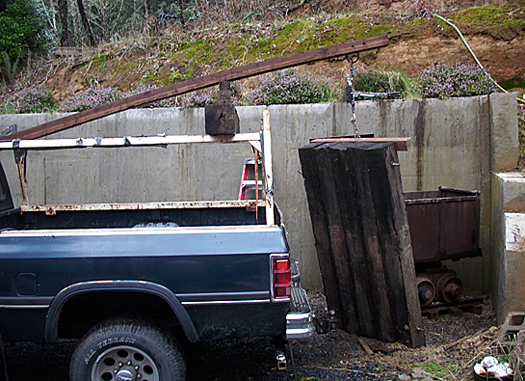 |
Once the walls were made, I needed a way to pick them up and move them into place. My truck and the ladder rack with some additional beams did the trick. Used a come-a-long to pick them up, just like a crane. |
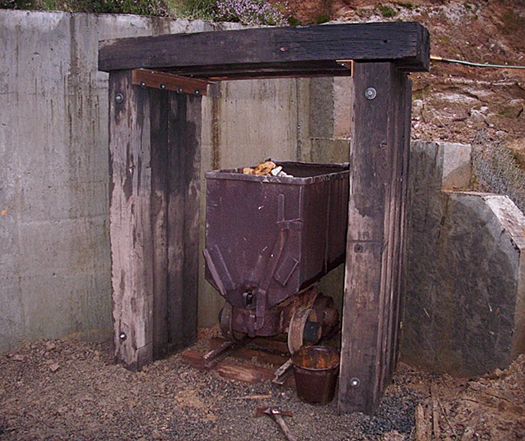 |
It took some doing but finally got the walls where I wanted them. Then braced them while I picked up the roof ties. I picked them up and tossed them up there by hand. Then used lag bolts with square washers to attached the steel angle. Made it pretty solid. |
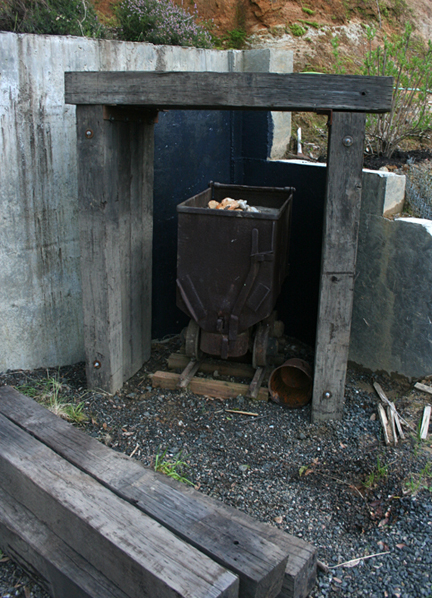 |
Bought some black concrete paint and painted the back wall. Hope it will make it look like a dark mine tunnel. |
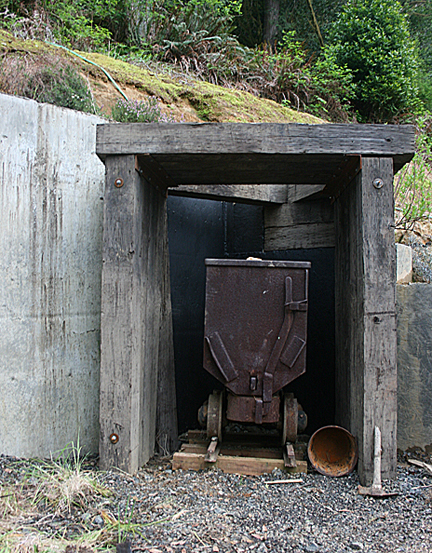 |
Next added more roof ties and a couple short ones on the back right to fill in where there wasn't any concrete. The triangle "hole" in the roof will be filled in with steel plate. |
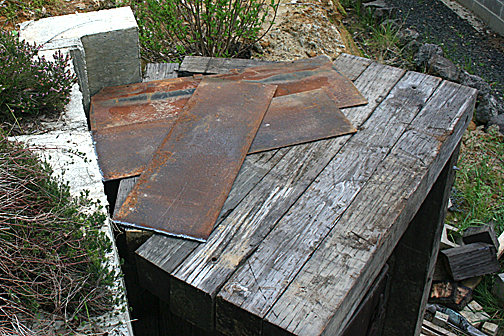 |
Up on top, you can see the steel plate I bought from the scrap yard. Should be strong enough to hold up a mountain! |
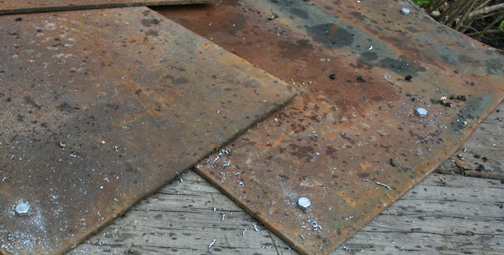 |
Drilled holes in the steel plate and used lag bolts to bolt it in place. I wan't afraid of it moving, I was wanting to tie all the wood ties together. The more stable the better. |
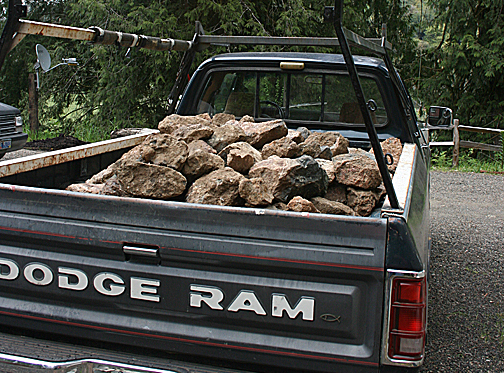 |
We went to the local rock quarry and loaded rock by hand so we could get something besides gravel. Doing it by hand was very hard work, but we loaded sizes we wanted. We stopped loading when the |
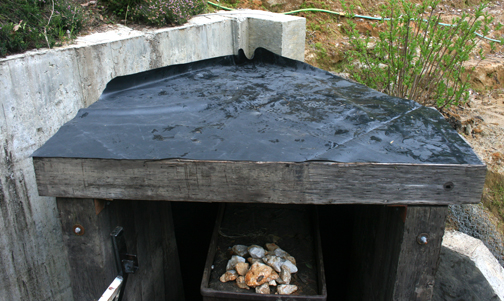 |
After the steel plate I installed a rubber sheet to help keep all things dry. This stuff is the stuff they use under man-made waterfall projects. It's like very thick inner tube in sheet form. |
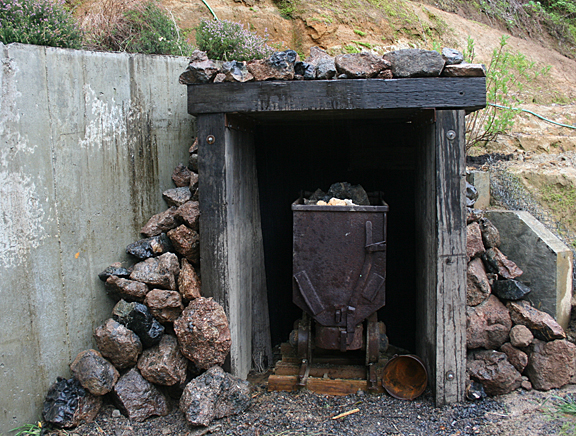 |
On top of the rubber sheet we put all that rock we brought home. And along the sides to help it look like a mine dug from a rock hillside.
The next step is to add "decorations", like an old lantern, pick axe, etc...things my Dad has given me over the last few years. |
 |
Added a few items to finish it off! |
