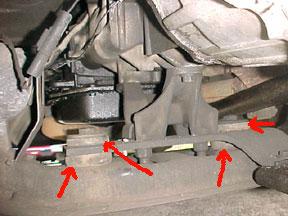
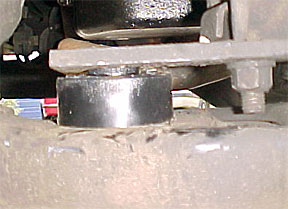
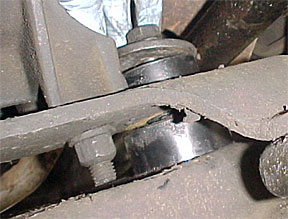
ONE:
These are the stock pieces you will
be replacing, shown by the red arrows.
They are round mounts, looking alot
like rubber donuts. There is a large steel
plate washer on top and on the bottom. |
 |
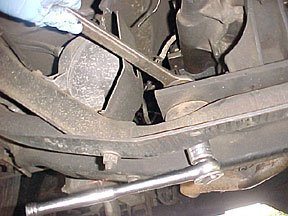
TWO:
Remove the bolts that run through the
mounts. On the test truck were I used a
15/16 wrench and rachet with a 15/16 socket." |
 |
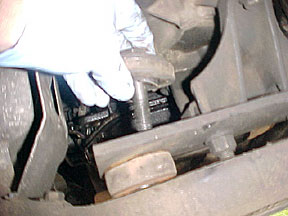
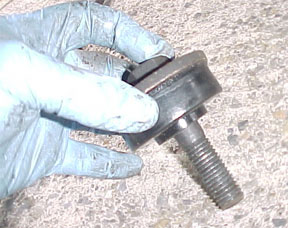
THREE:
Remove the bolts and large washers,
along with the top rubber mount. |
 |
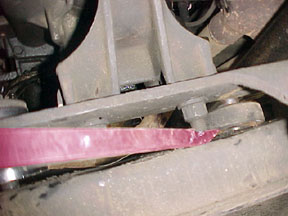
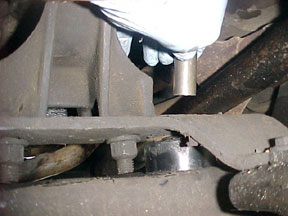
FOUR:
Jack up the transfer cast to give room to
remove the lower round mount. After jacking,
I needed just a little more room to remove
the stock mount with sleeve, so I used a pry
bar to lift just a touch more. |
 |
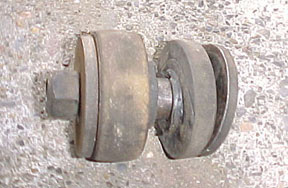
FIVE:
Here is one of the stock mounts removed
from the truck. You can see the plate washers
on each end. |
 |
SIX:
Now it's time to install the new polyurethane
mounts. The larger, thicker mounts are the
lower mounts. They are the ones that the case
rests on. Install both sides as shown here. |
 |
SEVEN:
Install the metal sleeves down into the
lower mounts, as shown here. |
 |
EIGHT:
Install upper mount onto the bolt, along
with the factory top plate washer, as
shown here. |
 |
NINE:
Install bolt through the metal sleeve and down
into lower mount. You will need to align
the bolt through the lower hole. Install the
factory lower washer and nut.
Tighten all hardware. |
 |
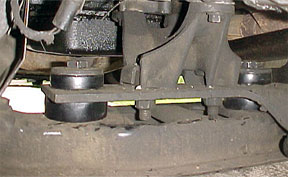
TEN:
This is how it looks when you are complete.
It only took me about 1/2 an hour, and that
included taking the photos.
After installation I took the truck for a test
drive. I found no change in vibration or transfer
of gear noise into the truck. |
 |
|
|
