 |
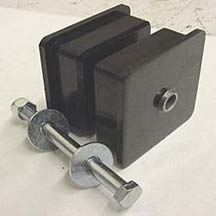
The polyurethane engine
mount comes in two parts.
This kit also includes an inner
sleeve, grade 5 bolt with washers,
and a nylock nut.
|
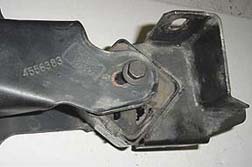 |
This is what the stock mount looks
like assembled, this is out of the car
so it can be better photographed.
|
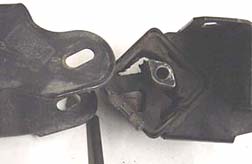 |
This photo is what the factory
engine mount looks like.
As you can see, it has gaps
that give the mount room to flex.
Also the hole in the center
(for the mounting bolt) is off set,
needed for more "cushion".
The poly mount's hole
is centered. This makes it easy to
install, you can't get it wrong!
|
 |
The first step it to remove the
center mounting bolt. Next Remove
the bolts that hold the mount to the
core support. Now take the front
mounting bracket off the core support.
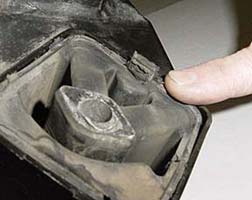
The stock mount has tabs that
keep it centered within the
mount bracket. Bend
the tabs out so that the
mount can be pushed out of
the bracket. |
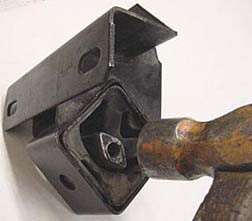 |
Remove the engine mount with a
hammer. Using a punch or chisel
will help with knocking it out. |
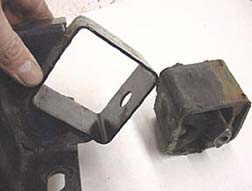 |
Here is the mount removed from the
core support mounting bracket. |
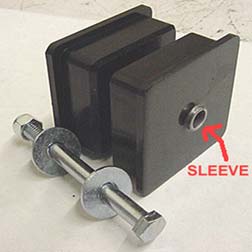 |
The next step is to install your new
polyurethane engine mount!
Add blue spacer/washers "IF" needed
where red arrow points to the sleeve.
These may be needed to hold mount
in place if there is play between mount
and outer bracket. |
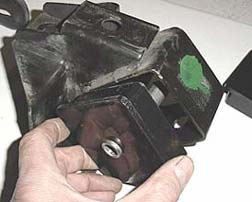 |
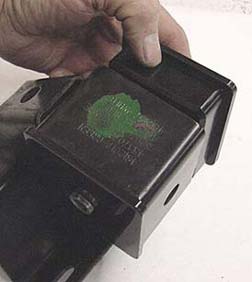
Install the first half and the inner sleeve
into the core support mounting bracket. |
 |
Install the second half to the other
side.
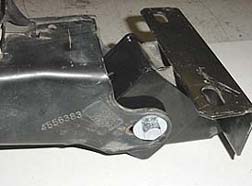
Install the bracket with engine mount,
back onto the core support.
Do not tighten core support
mounting bolts all the way.
Leaving them loose will help you
install the "through" bolt. You may
need to rock the engine to align. |
 |
Install the bolt, washers, and
nylock nut. Tighten all bolts
and nuts, your done! |