| The building of the Great Wall ! | back |
|
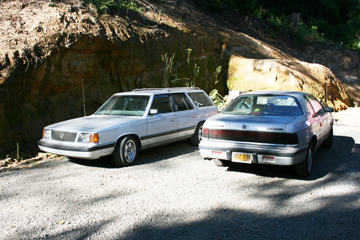
This is the area that needed retained. (To the left of the wagon) So before the rainy winter, the building of the wall is necessary. |
 |
Our neighbor has a back hoe, he dug the retaining wall footing for a small fee. |
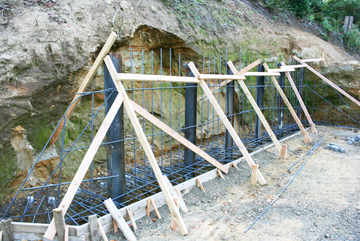 |
After the trench was dug, I added the footing forms and lots of rebar, including six steel beams. |
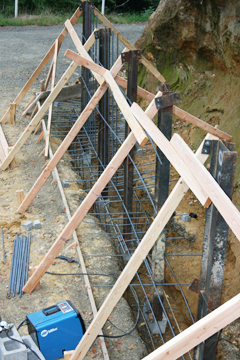 |
The #5 horizontal rebar was was welded to the beams to make sure everything stayed in place during the concrete pour. |
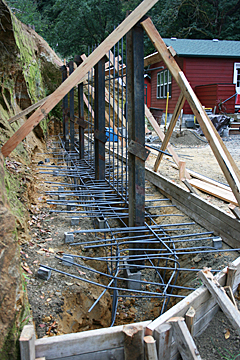 |
Everything braced and ready to pour the footing. It was about $700 for all the steel reinforcing. |
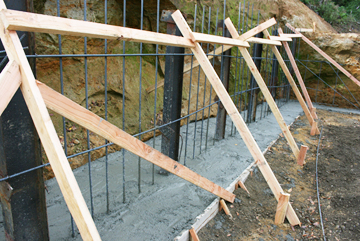 |
It was 10 yards of concrete for the footing. |
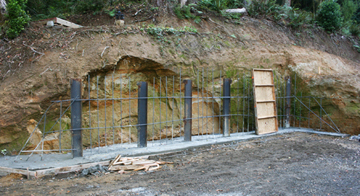 |
With the braces removed the next job was to start setting the forms for the actual retaining wall and bracing them. Most of it will be 8 ft. tall and the wall will be 44 ft. long. 12" wide at the top and 21" wide at the base. Footing was an average of 5 ft. wide. |
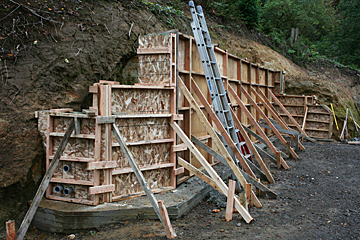 |
This is a photo of everything ready to pour with concrete. The forms were also bolted down to the footing. |
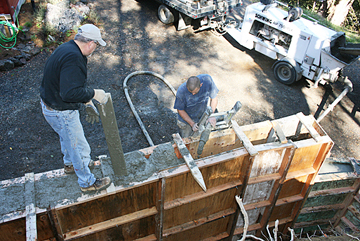 |
Here we are almost finished filling the forms. (I'm in the black shirt). |
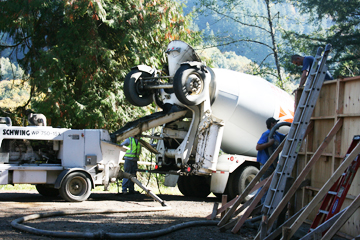 |
It took 15 yards of concrete for the wall (and 10 for the footing). We used a pump truck and hose to get the concrete up into the forms. |
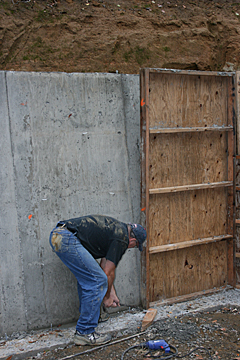 |
All the forms needed unbolted and stripped from the wall. |
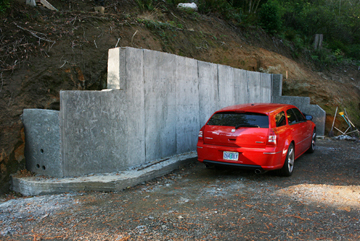 |
This photo is after the forms were taken down and the area cleaned up. |
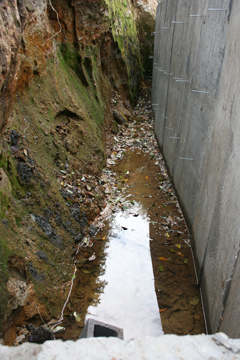 |
Behind the wall. |
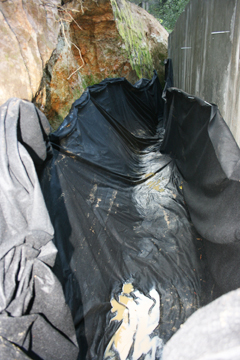 |
Added a landscaping felt. This lets the water through, but not the dirt, so it will not plug up the drain rock, or so they tell me. |
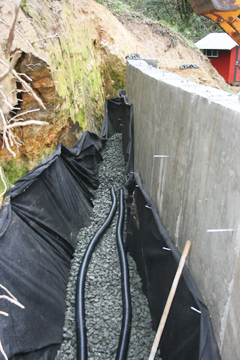 |
Added a layer of drain rock, then two perforated drain pipe. Then one more layer of drain rock. |
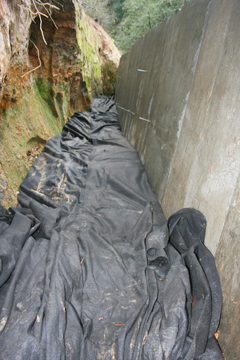 |
I added a third drain pipe, then Then added another layer of rock |
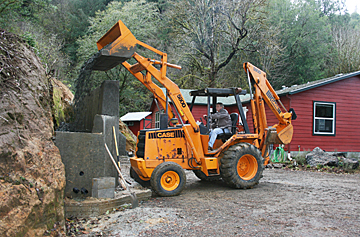 |
This is adding the last one foot layer of rock over the felt. |
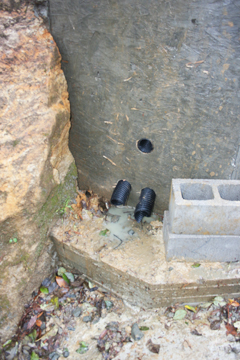 |
This shows the three 4" drain pipes coming out the end of the retaining wall. |
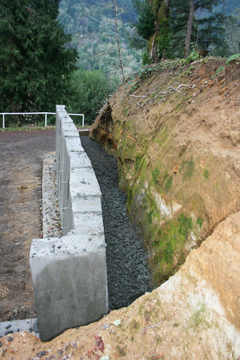 |
Next I will add one more layer of landscaping felt and fill in behind the wall with dirt. |
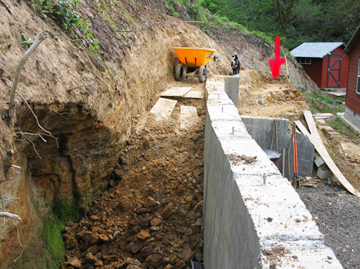 |
We worked a few weeks digging from where the red arrow points. It is a wall of dirt we needed to take 3 ft off the top. We moved the dirt to behind the retaining wall. |
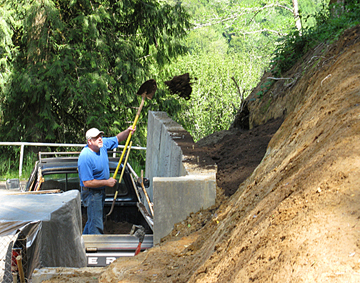 |
Then we added two pickup loads of "scalps". Which is just gravel with a lot of dirt in it. It was cheap. Then we added good top soil the last 2 feet. Not cheap!! |
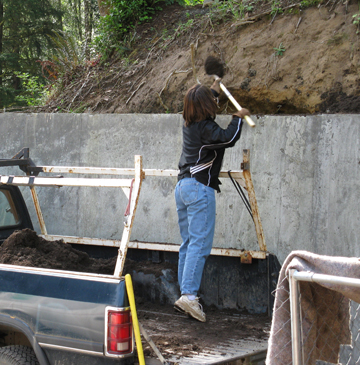 |
The two pickup loads of scalps were abount 5,000 pounds each. Then three pickup loads of top soil, at 4,000 pounds each load. Yes we unloaded all by hand, shovel, by shovel. Lots of work! |
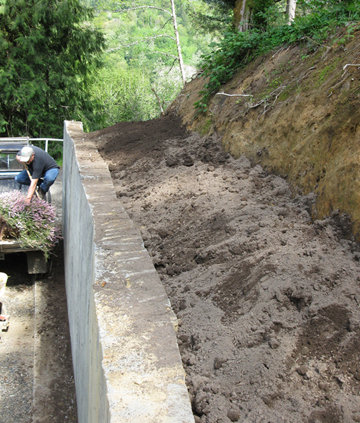 |
This is after the top soil was all in place. We are about to plant some Heather. |
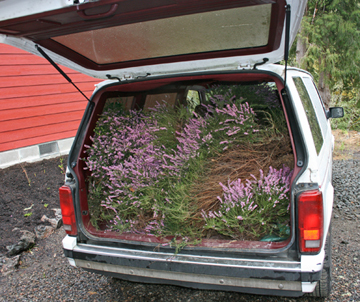 |
Elaine's sister gave us some very nice mature Heather plants. They really filled up my van. |
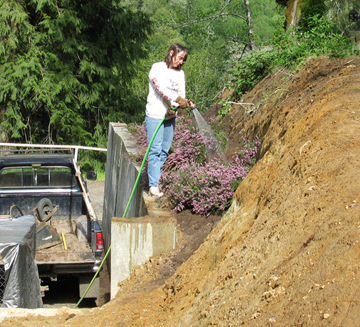 |
We have them planted. |
