 |
Block the front wheels and place transmission
in park or reverse.
Use a jack and raise the rear of your car.
PLEASE "DO" use jack stands for safety.
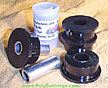
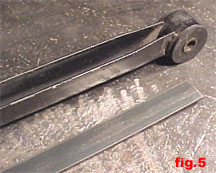
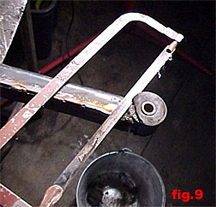
The above photo (fig.1) shows the complete
bar removed from the car.
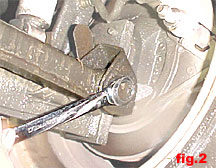
To remove the track bar there are two bolts.
The right side looks like fig.2. This bolt
uses a 18mm wrench or socket. |
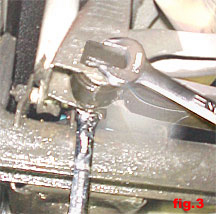 |
The left side of the track bar uses a
18mm wrench, as there is no room for
a socket on the back side.
I used a "GearWrench" on the back side
and a 13/16" box end wrench on the front
side. See figure 3. |
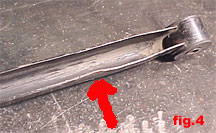 |
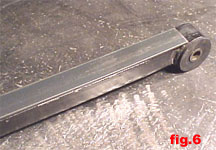
The track bar off of the car. You can see in
fig 4 where hard cornering has started to bend
the bar just a little. |
 |
The first step to making the track bar stronger,
is boxing it in. If you do not want to do this,
skip to step 9.
I bought a piece of steel 1/8" thick, 1" wide
and 44-1/2" long. |
 |
You will want to clean all of the paint off
of the edges of the track bar before welding.
Lay the piece of steel on the track bar,
end to end. |
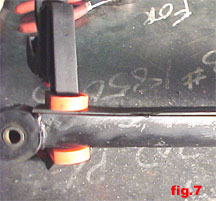 |
Clamp the piece of steel into place.
You will want to "stitch" weld the steel
to the track bar. |
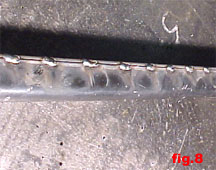 |
This shows what "stitch" welding the piece
of steel to the track bar looks like. Weld in
one area, go to another area to weld, etc.
This lets the welds cool. Stitch welding
helps keep the track bar from warping. |
 |
To remove the old rubber bushings, cut
the flange off one side with a hack saw.
Do this to both ends of the track bar. |
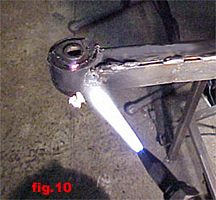 |
Use heat to warm up the bushings. You can
also use a propane torch for this job, you
don't need an oxyacetylene torch as I used here.
You don't need to catch it on fire. You want it
to heat up the bushing. It will swell up the
rubber and make it want to slide out.
NOTE: It is best to wear gloves!
NOTE 2: You also can just drill out the
rubber. Put the track bar in a vise and
drill into the rubber multiple times, until
the bushing is destroyed. |
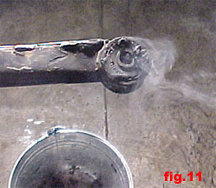 |
I use a bucket under the job to catch any
melting rubber. It can be real messy.
After it seems heated enough, you can try
tapping the rubber out with a small hammer.
After the rubber is out, clean the track bar
with solvent or brake cleaner. Use rags that
you will be throwing away.
|
 |
I sanded my track bar and painted it with
spray can "bedliner" paint. Or you can use
regular paint or have it powder coated for
something really nice.
Add two of the poly bushings to each end
of the track bar. |
 |
Add the special green poly lube to the sleeve
and slide it into the track bar bushings. |
 |
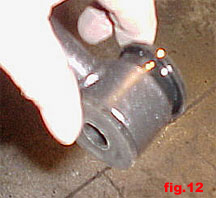
Also add the special green poly lube to the
outside area of the track bushings as shown
in figure14. |
 |
After installing the bushings to both ends
of the track bar, reinstall it into the car.
Tighten both bolts and nuts, your done! |